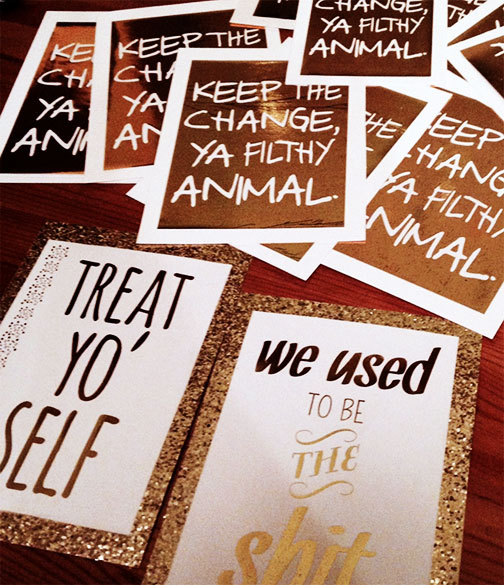
I’ve been seeing these gold foil prints everywhere and I was curious to see how they were made. Turns out- super easy to do! There are a couple options when making these- you can use a laminator or you can use a Laser printer. I tried both. Here is the lowdown:
Get yourself some toner activated foil first- both of these are good buying options Laura Murray or Pulsar.
Experiment # 1 started with using this basic laminator.
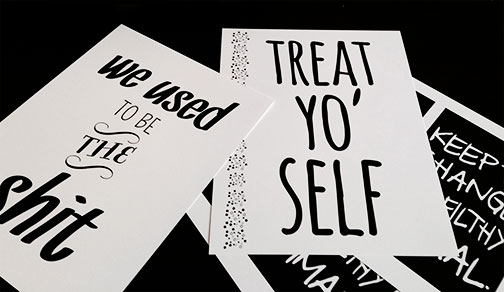
Create some sweet designs and print them out on a laser printer. You should use a printer that prints with toner because it’s what the foil will react with. You can print your image using a laser printer, or even a photocopier. Just make sure it’s black and white and toner is what’s used (not ink).
A note on paper: Coated cardstock yields good results! Uncoated cardstock does not. boo.
Based on my research I got mixed messages about how “fresh” the print need to be, but I would go with the fresher the better. So print and go! Once you have your print done apply some foil- pretty side up to your design and run it through the laminator. I tried running it with a piece of paper on top and just with the foil on top- I like just the foil better because it got the paper a little hotter and adhered a little better.
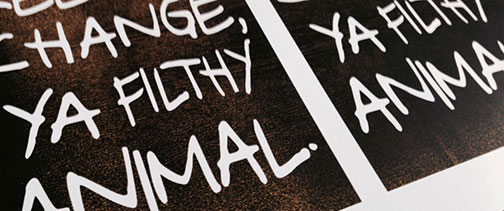
I got mixed results with this method. It works pretty well, but it wasn’t the perfect crisp print I wanted in my heart. Basically the first attempt was heartbreaking. Nobody should have to feel that on their first foil print.
Experiment # 2 I used a laser jet printer, which was scary at first.
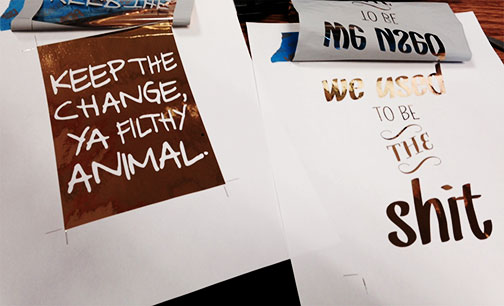
Same as before get your toner printed image ready- but this time you tape the foil to your print (using painters tape or something that won’t rip your paper when you remove it) make sure you don’t tape over any of your design.
Now the scary part- put it back in the printer and print a blank sheet of paper.
Works like a dream! I only had a jam problem once and that was with a small piece of foil. So a great reason to go big!
I got a better adherence rate with the printer method (albeit still not always perfect). You just want to make sure that your foil is going in flat and that it is taped up completely on the side that will feed into the printer first. Printers don’t like it when the foil goes in all willy-nilly…whatever. Success!
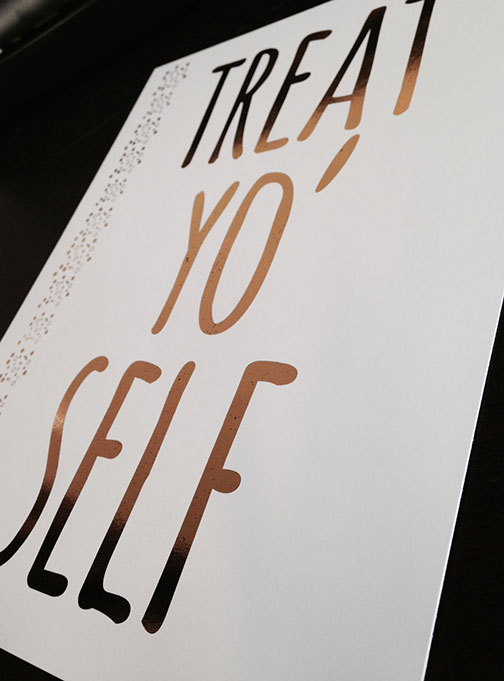
Treat Yo’ Self to some foil prints!

Christy J.
January 8, 2015 at 8:37 am //
LOVE! Thanks for the tutorial AND for gifting me one of these babies!