 Illustrator is probably the Adobe program I use the most – Photoshop is a close second. What’s the difference? Illustrator is a vector-based software. In Illustrator, a line is composed of two dots connected by a computer algorithm, instead of just a line of pixels. Because of this, Illustrator is used often to create logos or anything that may need to be printed or displayed at different sizes. Photoshop is super popular and you probably know what it is, but if not- everything in Photoshop is made up of pixels. If you try to scale things up and down it can lose its quality very quickly. But enough with the software backgrounds – let’s learn how to do a cool thing in Illustrator – use clipping masks!
What is a clipping mask? A clipping mask is an object whose shape masks other artwork so that only areas that lie within the shape are visible—similar to peering through a hole in a piece of paper to the objects underneath it. This is useful if you only want to display part of an image or graphic or do fancy things like make an image appear behind your text! Let’s break down how to do this –
- Make or open something you want to mask
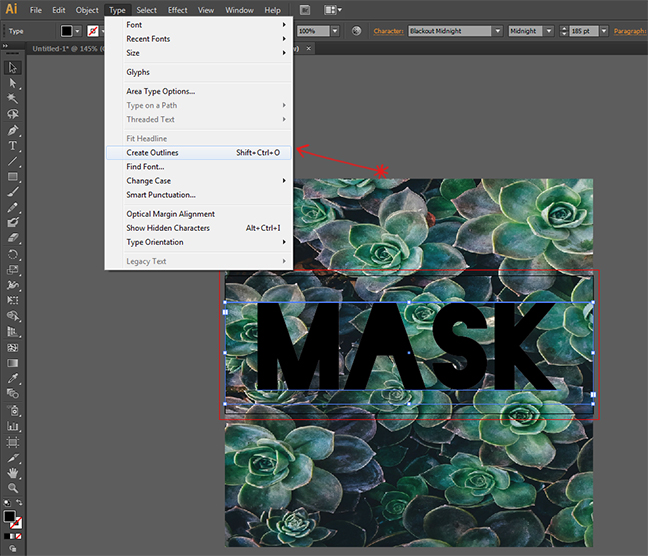
- Clipping masks can be any shape you want – for this example I am using text. Type out your text and outline it Type > Create Outlines
- Next choose Object > Compound Path > Make
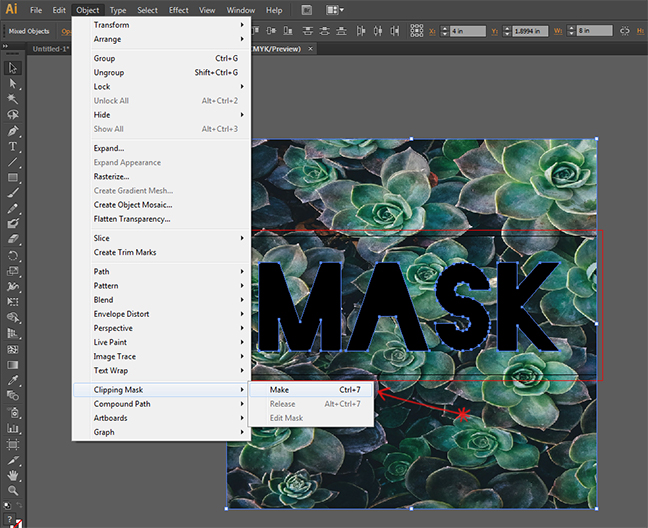
- Make sure the shape or text you want to clip is on top – select all the objects choose Object > Clipping Mask > Make


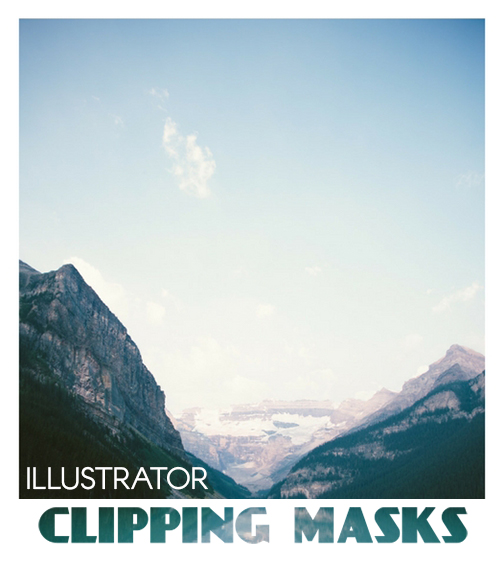
Boom! Magic! Done! So easy to achieve this effect.
There are so many options to get creative with this. What are you going to make?


Leave a Reply